VisualEyes™ Support
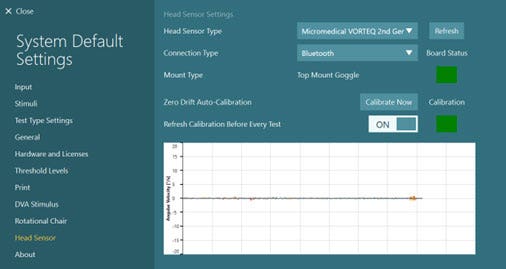
Before beginning your first vHIT for VORTEQ test, open System Default Settings from the main screen and select Head Sensor from the side panel. Ensure that the connection type is set to Bluetooth for best vHIT results. When the head sensor (IMU) USB receiver is plugged in and the IMU is turned on, the board status indicator should be green. To calibrate the head sensor for the first time, lie the IMU flat and click Calibrate Now. Make sure the sensor is completely still during this process. The calibration indicator in this screen will turn green when calibration is successfully completed. The Refresh Calibration Before Every Test option should be enabled.
Figure 1 - VORTEQ IMU head sensor setup
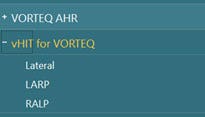
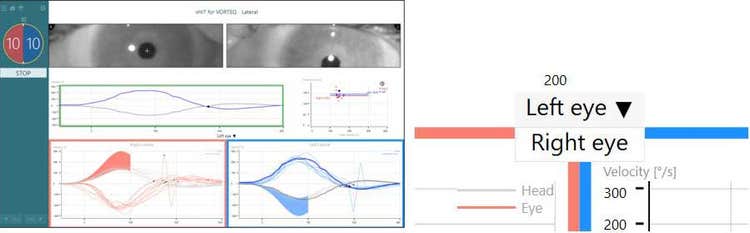
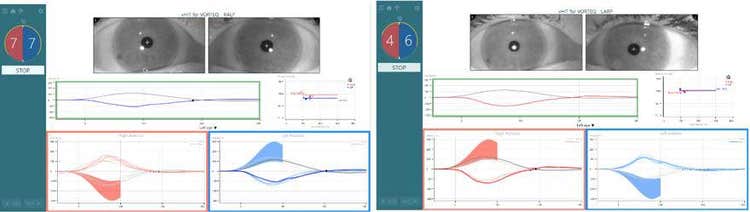
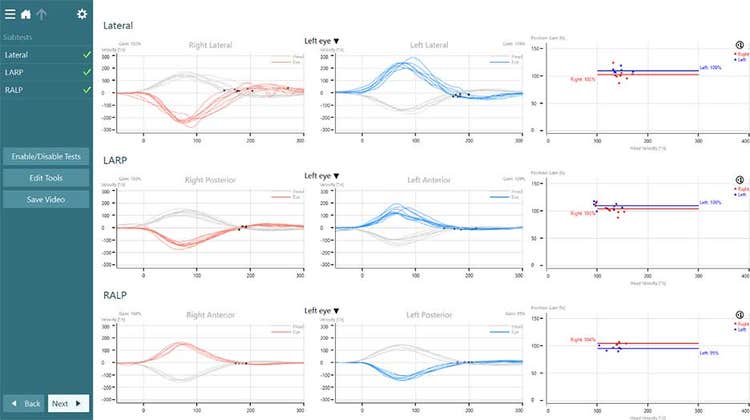
To begin testing, select vHIT for VORTEQ from your drop-down test menu and begin with the test for lateral canals.
Figure 2 Test menu for vHIT for VORTEQ
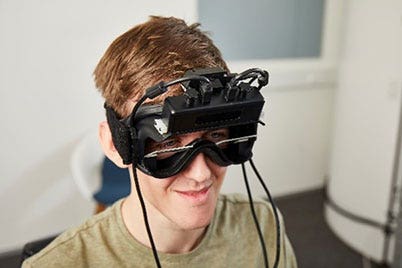
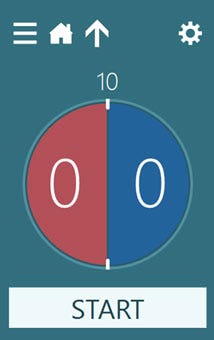
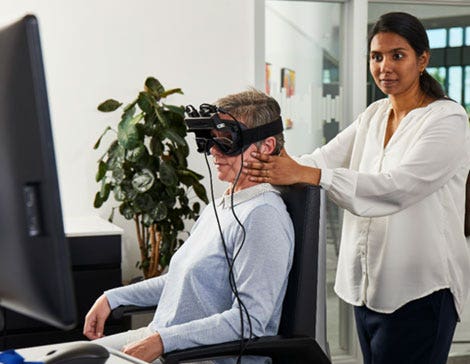
Attach the VORTEQ IMU to the goggle and turn it on with the toggle switch located on the top of IMU. You will see a flashing yellow light next to the ‘on’ indicator on the IMU and a message in the side panel of the software test screen indicating that the sensor is active and ready for testing.
Figure 3 - VORTEQ IMU attached to goggle
Figure 4 - VORTEQ IMU sensor ready message
If you have not already calibrated eyes in a previous test, it is recommended that you calibrate before starting the test. Refer to the calibration quick guide for additional details for calibration.