Protocol setup
In this quick guide, you will learn how to perform the Smooth Pursuit Neck Torsion (SPNT) test, which allows for comparison of oculomotor movements in neck neutral versus neck turned conditions. The purpose of this test is to determine if and how much the neck is contributing to abnormal oculomotor performance.
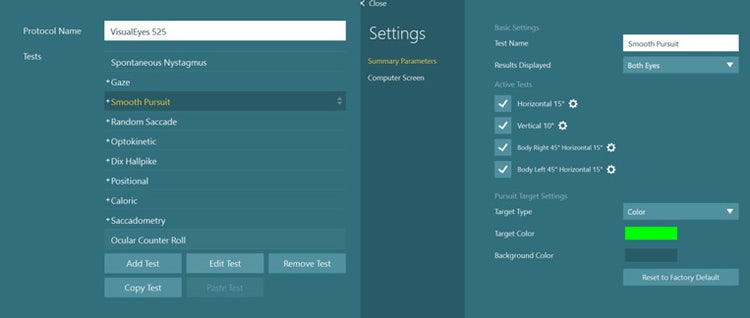
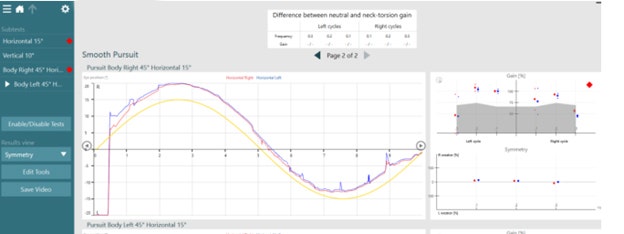
This test was not added to the default VisualEyes™ 525 protocol, as not all patient populations may benefit from this specialized oculomotor assessment. To add Smooth Pursuit Neck Torsion to your protocol, go to “System Default Settings” > “Protocol Management”. Click “Smooth Pursuit” > “Edit Test” and choose “Body Right” and “Body Left” to add to your desired protocol.
After this has been added to the protocol, you should see the subtests in your protocol test menu under “Smooth Pursuit”.
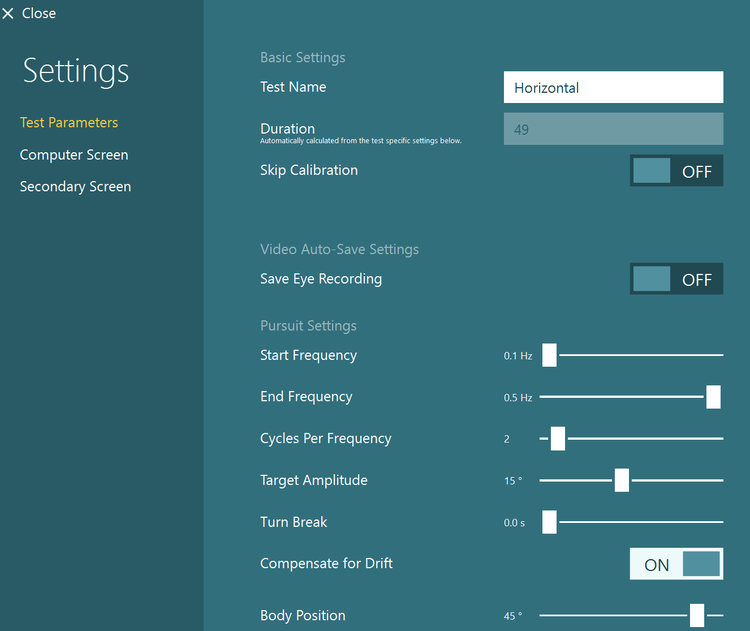
There are several test parameters you can adjust in the settings screen under each test if you click the gear icon.
The first step of the test sequence is to perform the normal horizontal smooth pursuit test.
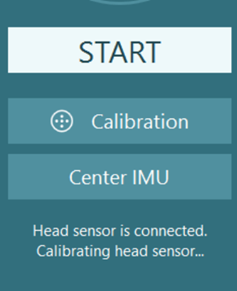
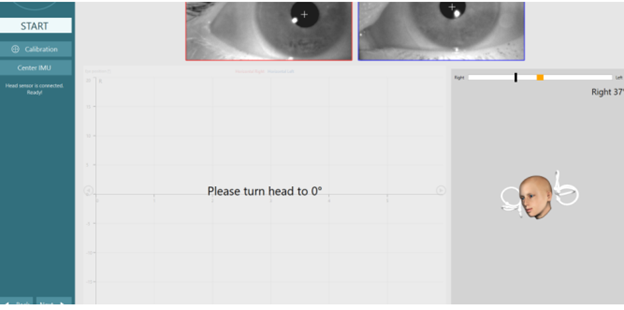
The neck torsion subtests use the VORTEQ™ sensor for positioning head and body before the test. Before performing the test, make sure your head sensor is on and connected. Once the patient is facing the stimulus, center the IMU so the head model is facing forward (like the patient) and the angle by the head model reads 0 degrees.
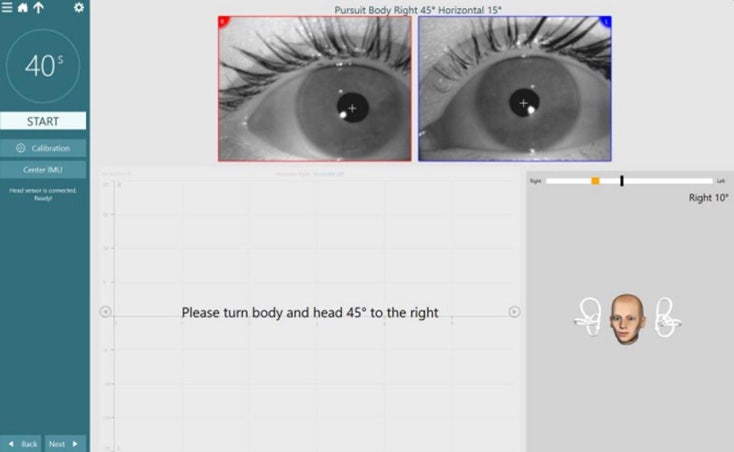
For the test, the software will instruct you to turn the patient’s head and body 45 degrees to the right. When the patient is in the correct position for 2 seconds, the orange target bar will turn green.
After two seconds of correct positioning, the target position will move to the 0-degree position indicating the patient’s head only should turn back to center.