VisualEyes™ Support
If you have not previously calibrated your eyes, you must do that first. The eyes should be calibrated anytime you change the goggle/camera, or the goggles are moved on the patient’s face.
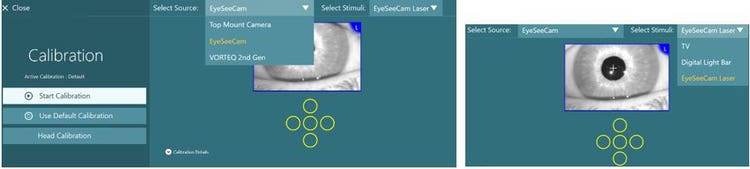
Both videonystagmography (VNG) and vHIT use a 5-dot pattern for calibrations. For VNG, you must use the TV/monitor screen to generate the fixation points and for ESC vHIT, it is recommended that you always use the attached laser to generate the fixation points. The software screen will be the same regardless of which stimuli source is used.
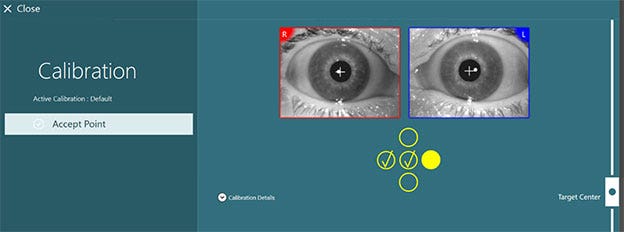
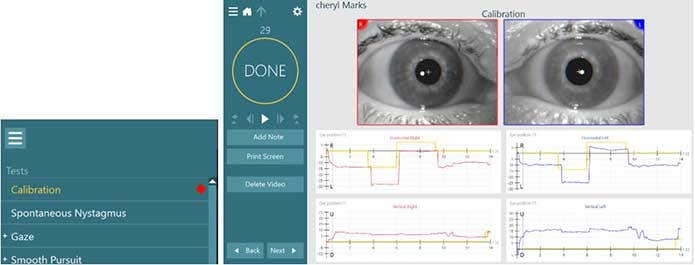
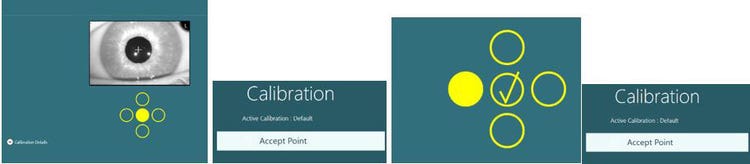
For VNG calibrations, the patient is instructed to look straight ahead and keep their head still and following the moving targets with their eyes only. The VNG calibration process is automated, so as soon as the patient has correctly fixated an individual point, the dot will automatically move to the next fixation point.
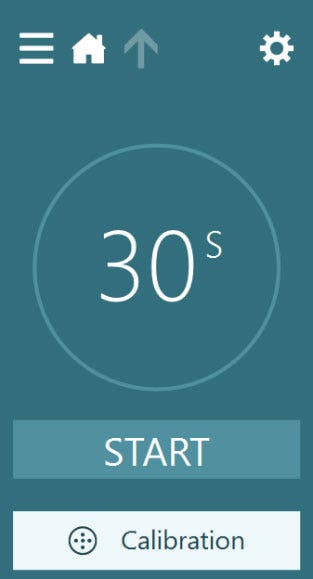
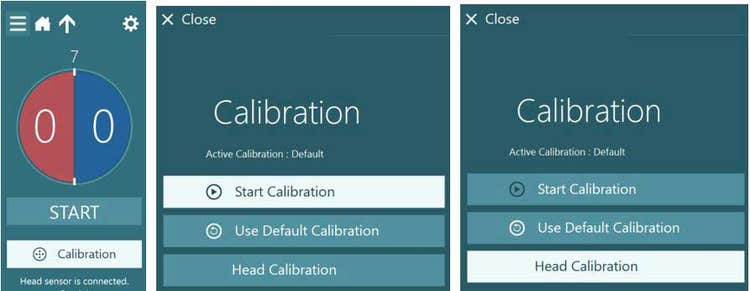
At the beginning of testing, the calibration button will be highlighted in white to prompt you to begin a calibration before moving on to any other testing.
Figure 1 - Begin calibration
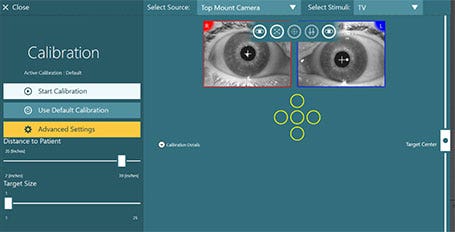
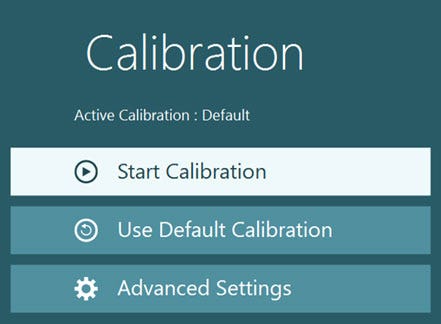
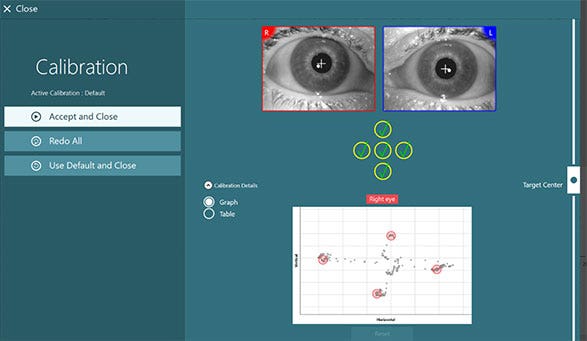
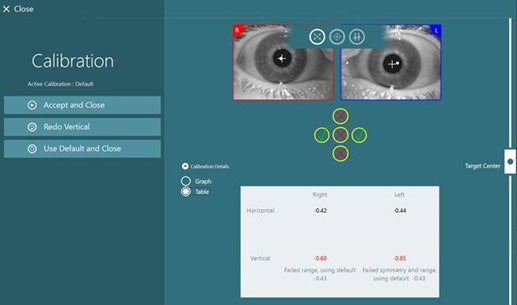
When you are in the calibration screen, you will see there are many different things you can do here. From the Advanced Setting button, you adjust the patient’s distance to the target if that has changed and you can change the stimulus size if the patient has visual problems seeing the dot. Here you can also choose the default calibration if for any reason the patient cannot complete the calibration task. Using the Target Center button on the side allows you change the alignment of the center dot on the TV screen. This can be helpful with very tall patients.
Figure 2 - Calibration screen options
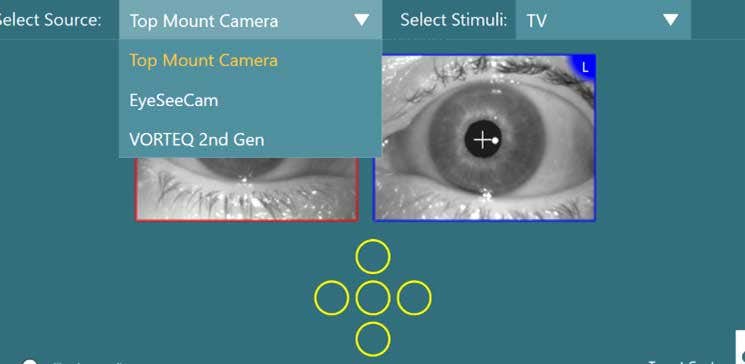
Using the tool bar just above the eyes, you can center the eyes (if you have a top mount goggle), you can adjust the tracking thresholds, change your default eye tracker, and disable either eye, if necessary.