Solutions / Balance Testing Equipment / How to perform the Advanced Dix-Hallpike test
How to perform the Advanced Dix-Hallpike test

How to perform the Advanced Dix-Hallpike test

In this guide, you will learn how to perform the Advanced Dix-Hallpike using the VisualEyes™ videonystagmography (VNG) system.
Get a quote Find a distributor
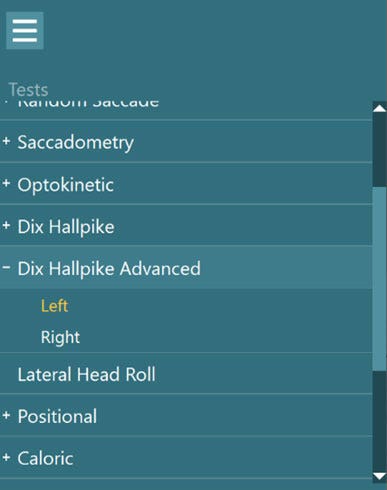
List of tests, including: random saccade, saccadometry, optokinetic, dix hallpike, dix hallpike advanced, lateral head roll, positional, and caloric. For dix hallpike advanced, left and right are available options, with left highlighted in yellow.

VisualEyes™ Support

The Advanced Dix Hallpike test is part of the VORTEQ Assessments bundle. The Dix Hallpike test is performed to look for Benign Paroxysmal Position Vertigo (BPPV) in the vertical canals. The Advanced Dix Hallpike test has 2 additional features that provide significant improvements over the standard Dix Hallpike test. The new features are:

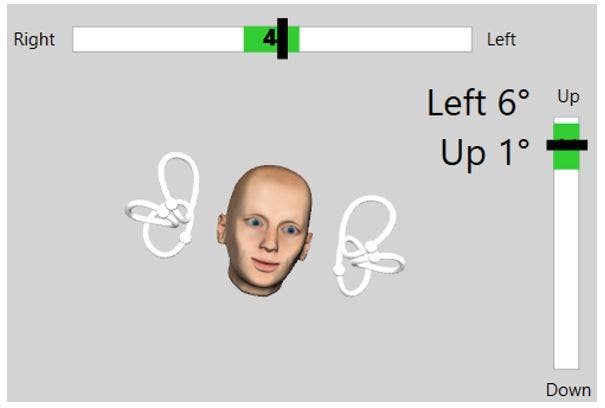
3D Head Model Guide to show the head position of the patient in real-time and during playback.
Guide to assist in proper head placement with exact degree of head positioning.
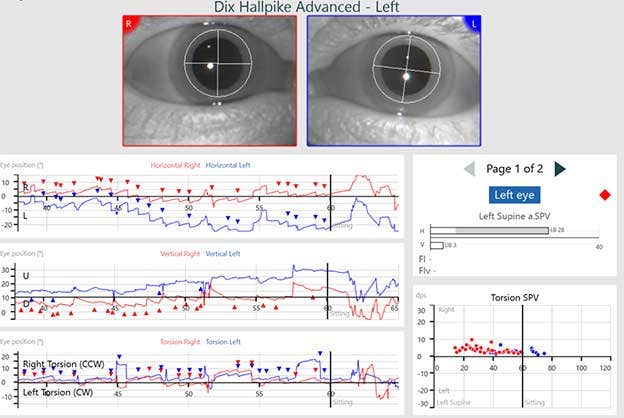
Torsion eye graph with torsional nystagmus analysis.
Pause during supine and seated positions to ensure clean data collection and reduce body movement artifacts.
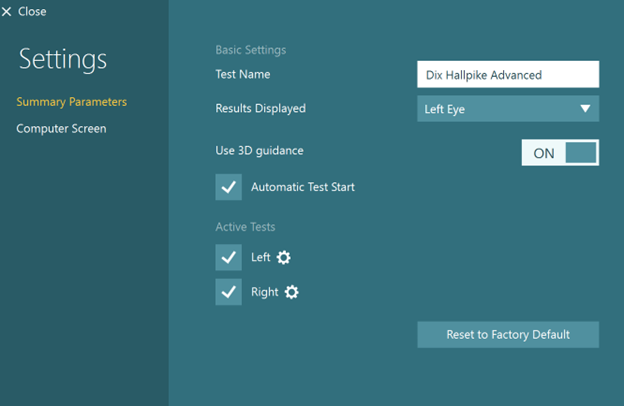
Automatic test start (optional).
To perform the test, you must first calibrate the eyes in the software. This allows the algorithm to identify the iris and determine how far the eyes are from the cameras and how far they need to move to look at a target of known position.
First, select the Advanced Dix Hallpike Protocol from your existing protocols drop down menu.
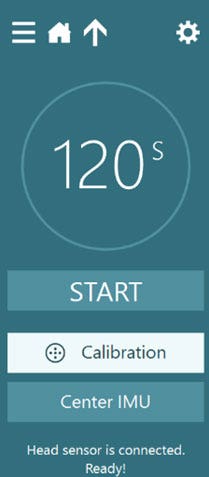
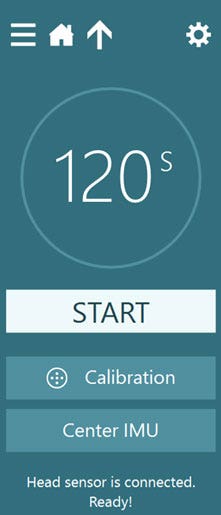
Calibration selection for VORTEQ sensor. The following is displayed: 120 seconds, start button, calibration button, center imu button, and a message which says: ‘Head sensor is connected. Ready!’.

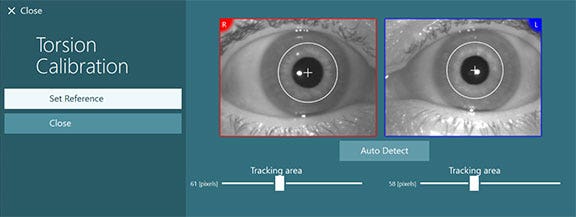
Images of right and left eyes. For both eyes, a small cross is at the center of the pupil, encircled by a white circle. The tracking area for the right eye is 61 pixels, and 58 pixels for the left eye. A button is available labeled 'Auto Detect'. To the left there are two options available: set reference and close.

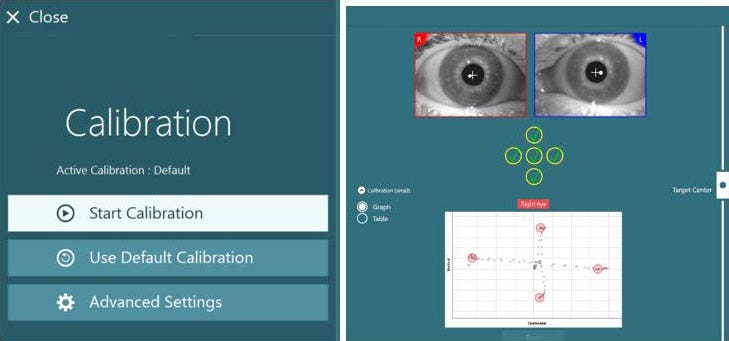
Right and left eyes displayed, with five green checkmarks below for the following positions: center, left, up, right, and down. Visible as an almost perpendicular cross relative to the center dot in a graph below.

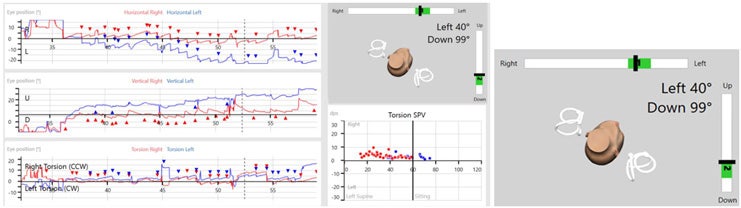
3D image of a head, with semicircular canals displayed for both ears. The x-axis ranges from right to left, and the y-axis ranges from down to up. A green shaded area on both axes displays where to point the head, and a black marker indicates whether the patient's head is pointed correctly. Both black markers are in the green region, and the 3D head is pointing accordingly. In this instance, to the left and down.

Results for eye position, average slow phase velocity, and torsion velocity are displayed in separate graphs. BPPV is detected, indicated by a red diamond.

Contact your local distributor

Our world-wide experts are ready to help you find the right solution.
Find a distributor